With childlike wonder, let’s unleash our imaginations and create something awesome!
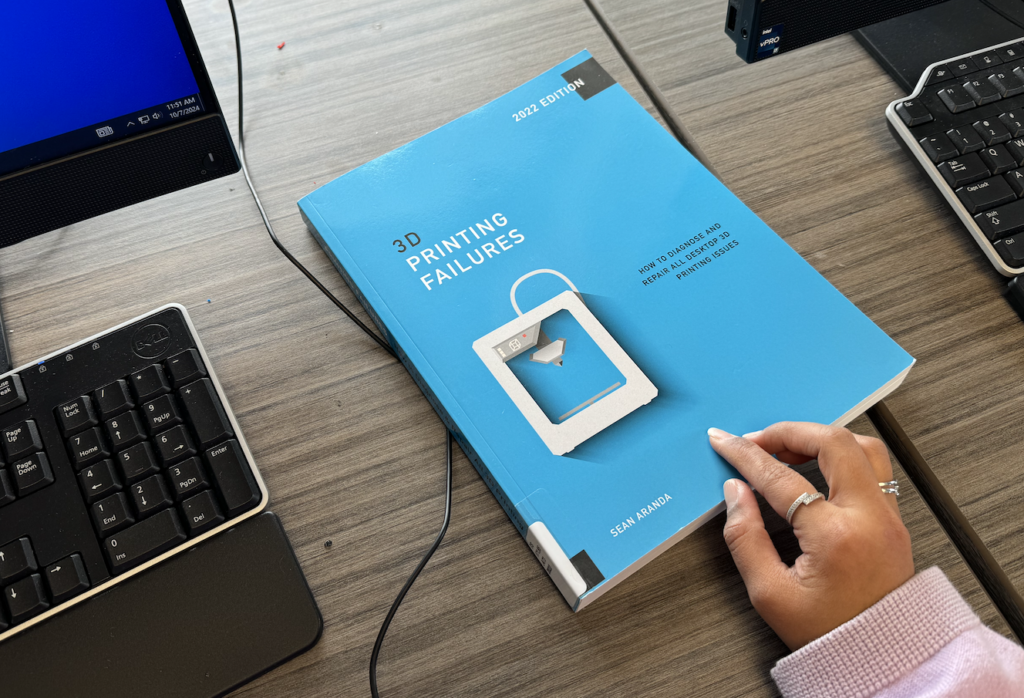
The day has come for another milestone … my first venture into the world of 3D printing! Stepping into the world of 3D printing felt like opening a treasure chest filled with endless possibilities. The anticipation bubbled inside me like a kid on Christmas morning who was eager to unwrap her very own toy. I could hardly contain my excitement while wondering what marvellous creations I might conjure from thin air (or, well, plastic filament).
Like many, I had my doubts. What’s the process really like? Is it as intricate as it seems? With a sense of wonder, I decided it was time to uncover the mysteries firsthand.
Where do I start?
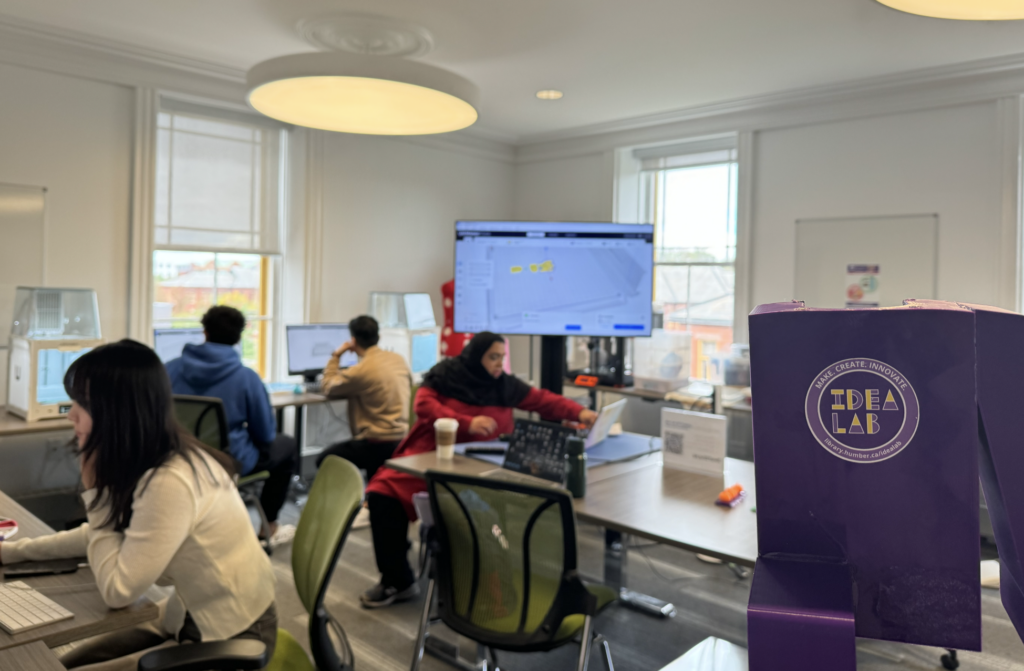
I was itching to dive into 3D printing, but where do I even begin? Fear not, fellow adventurers. The Idea Lab came to my rescue with two shiny Ultimaker 2+ 3D printers that are available at both the North and Lakeshore campuses. The good news? They’re totally FREE for all current students, staff and faculty!
Here’s how I got ready for my epic printing journey:
Step 1: Complete My 3D Printing Training — Choose My Adventure!
- Option A: I breezed through the online tutorial. It felt like a video game, minus the dragons but with plenty of filament fun. It took me anywhere from 20 minutes to one hour to complete, which is perfect for a coffee break or while procrastinating on that assignment.
- Option B: I could also join the in-person workshop. I spent about two hours with fellow future makers, learning the ropes and sharing laughs. Who knew I’d be making friends while mastering the art of 3D printing?
Step 2: Book My 3D Printing Session!
After I conquered my chosen training option, it was time to reserve my spot at the printer. I learned that my booking was like a golden ticket. It only gets approved after I complete step one. So, I made sure to have that training under my belt before diving into the fun part.
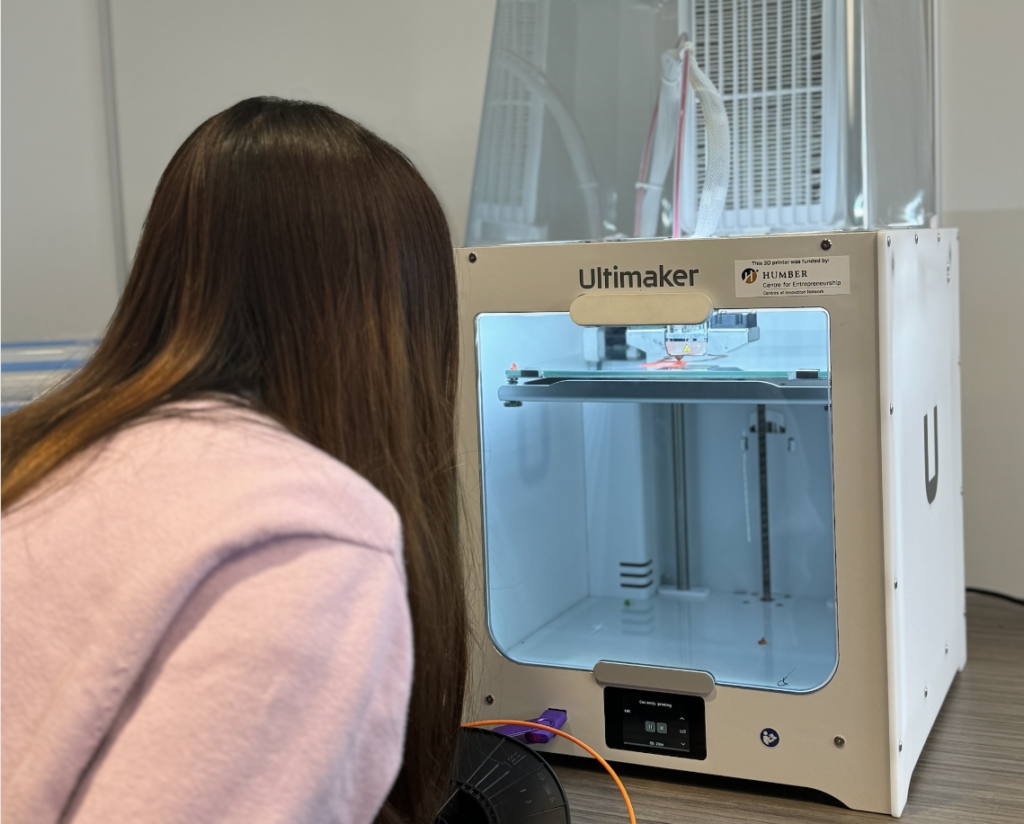
Morning excitement: setting up the printer
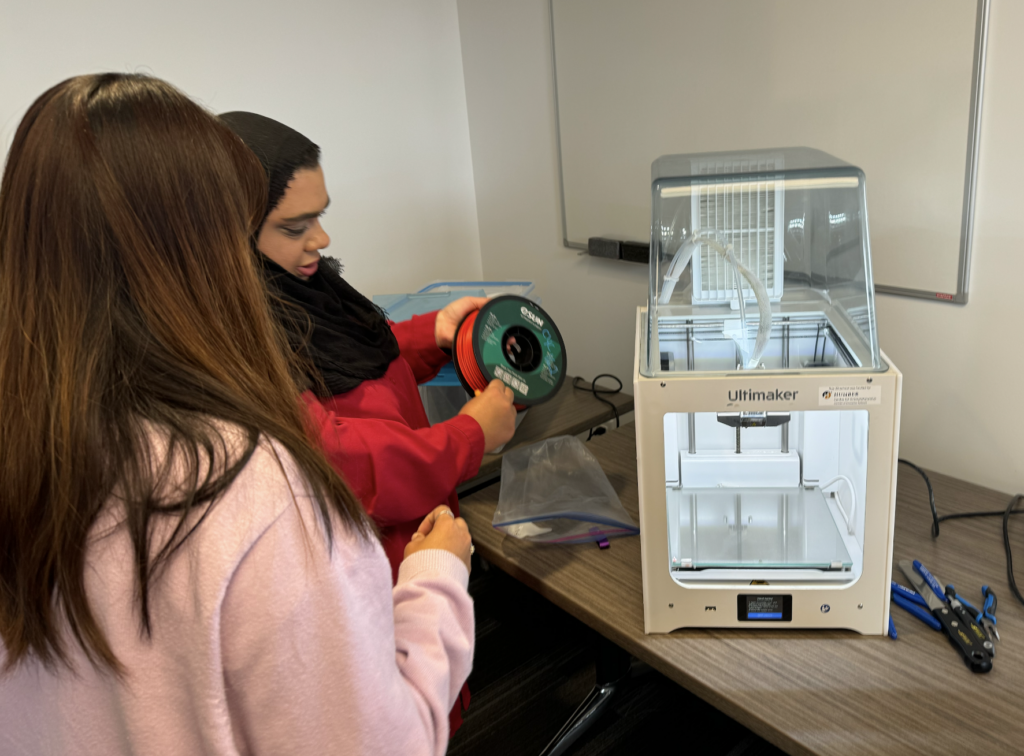
The excitement was palpable as I saw the 3D printer, a device that felt like something out of a sci-fi movie. It sat on my desk, awaiting its first task. Though I had done my homework on how these machines operate, nothing beats the hands-on experience. The printer, with its mesh of wires, motors and a glass build plate, looked more like a futuristic gadget than a typical DIY tool.
I carefully followed the setup instructions, ensuring all components were correctly aligned and the extruder was properly calibrated. Once everything was connected, I powered it on and the soft hum of the machine gave me a sense of anticipation. Was I ready for this challenge?
Choosing the model: what to print?
The next decision was crucial. What would be my first creation? I wanted something simple yet meaningful for my beginner foray into 3D printing.
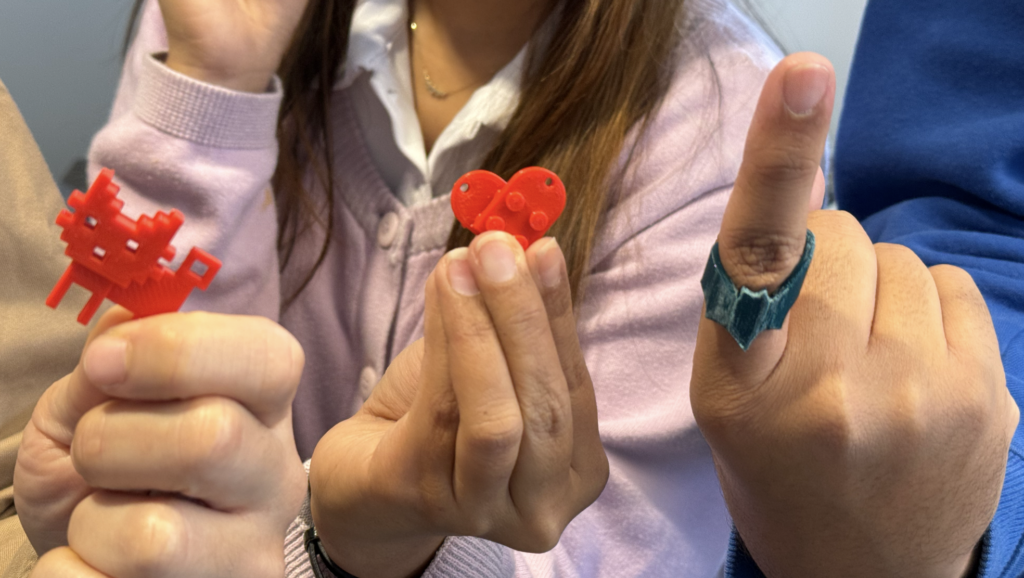
After browsing through repositories like Thingiverse and MyMiniFactory, I chose a two-piece set keychain that, when combined, can create a heart. It was a balance of style and simplicity, ideal for a first-timer like me but interesting enough to showcase to friends.
Midday: preparing the file

With the model selected, it was time to dive into slicing. For those new to the process, slicing is where the magic happens. I uploaded the STL file into slicing software (I opted for Ultimaker Cura), which converts the 3D model into thin and printable layers. This step felt like I was laying the digital groundwork for an architectural marvel.
I adjusted essential settings like layer height, infill percentage and print speed. These adjustments would influence the print’s resolution and durability.
For example, I set a layer height of 0.2 millimetres for a good balance between speed and detail. I went with a 20 per cent infill, providing a sturdy yet lightweight keychain.
The moment of truth: hitting ‘print’
When satisfied with the settings, it was time to transfer the file to the printer and hit “Print.”
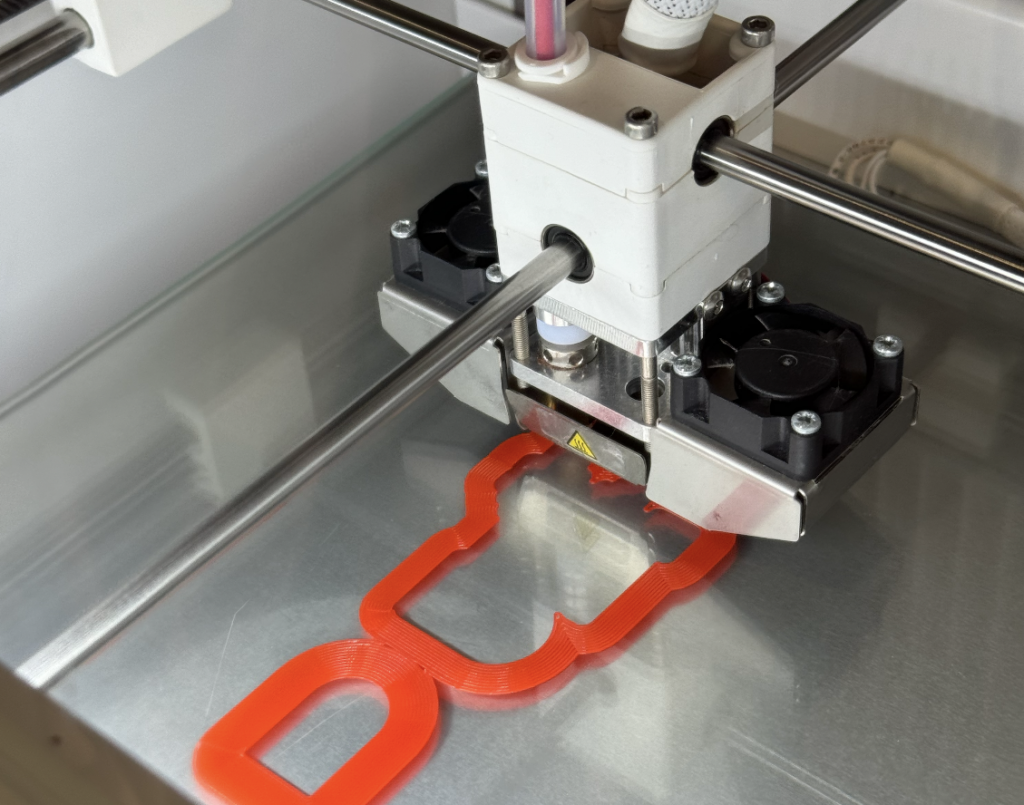
The nozzle heated up, reaching about 200 degrees, and soon the extruder began to deposit thin lines of molten filament, forming the first layer. The printer worked methodically, adding one layer atop another with precision. Watching the process was mesmerizing. It’s like an artist painting stroke by stroke, except in 3D.
Afternoon: the waiting game
As any 3D printing enthusiast will tell you, patience is key. Detailed prints take time and my keychain was no exception. I found myself checking the progress every few minutes, resisting the temptation to hover over the printer.
In the meantime, I researched various filament types like PLA and ABS. PLA (Polylactic Acid), which I used, is biodegradable and perfect for beginners due to its ease of use. ABS, on the other hand, is more durable and heat-resistant but requires a heated print bed and more controlled conditions. This knowledge sparked ideas for future projects such as customized gifts and functional household items.
The big reveal: my first 3D print
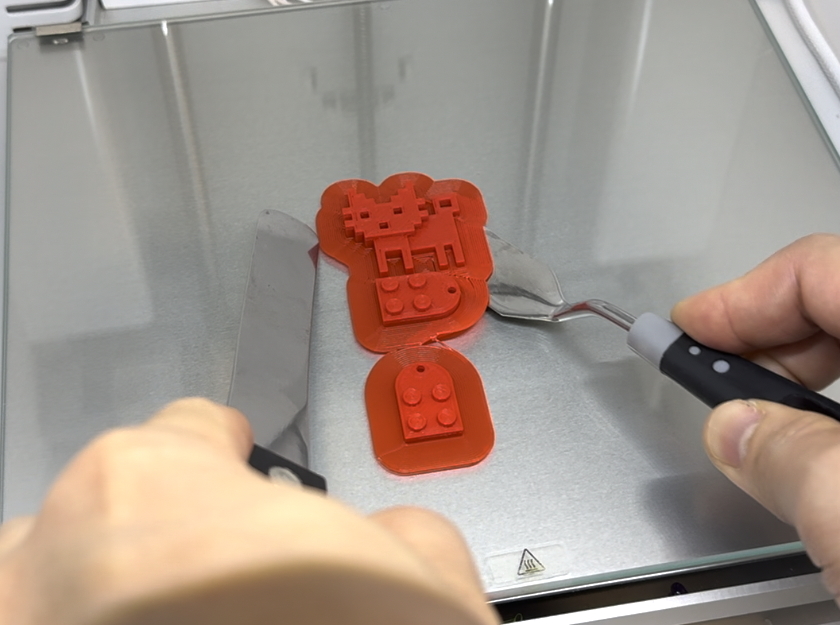
Finally, after a few hours, the print was complete. I carefully removed the keychain from the build plate, while I was thrilled to see the finished product in my hands. Though not flawless, some layers were slightly misaligned and there were a few rough edges. A quick post-print sanding, and the keychain was ready to attach to my keys.
The fact that this object, once just a digital file on my computer, was now a tangible item felt nothing short of magical. I had transformed a mere filament into a functional object and the satisfaction was immense.
Reflection: the first of many
As the day wound down, I was already planning my next project. This keychain was just the tip of the iceberg. Now that I’ve experienced the process, I’m eager to try more complex designs and maybe even venture into creating my own models from scratch.
This experience wasn’t just about making something. It was about learning, experimenting and embracing the thrill of creating something entirely new. This first print is only the beginning of my 3D printing journey and I can’t wait to see where it takes me next.
If you’re looking for an event on campus that lets you make creative objects, join us for the IGNITE Happy Painter event and unleash your inner artist! Taking place on Tuesday, Oct. 29, from 11 a.m. to 3 p.m., the IGNITE Zen Zone will be transformed into a magic environment that speaks creativity. Join us, grab a brush and let your imagination flow through painting.
Feature image courtesy of Jona Espejo.
Are you looking for activities on campus? Check out how to make the most out of extracurricular activities!
Follow us on YouTube, Instagram and TikTok for all things student life.