Transforming everyday items into personalized pieces!
Summer isn’t only remarkable for all the outdoor activities, but also for the extensive number of DIY projects flooding platforms like Pinterest. Whether you want to give a new look to your kitchen, backyard or even your workspace, DIY projects offer a cost-effective and creative way to achieve a fresh new look.
Wait a second, do you even know what DIY means? If you grew up watching Art Attack like me, you probably know best.
DIY stands for do-it-yourself, emphasizing the approach of crafting and designing items with your own hands using basic materials. While you can find many DIY ideas for kitchen or bathroom renovations, today we’re focusing on simpler projects.
These creations aren’t only budget-friendly and straightforward to make, but they also provide a stylish update to various rooms throughout your home.
Bottle cap magnets
If you have bottle caps lying around your kitchen, you can transform them into fridge magnets for a fun and colourful decoration. This option is cheap, quick and will add a vibrant touch to your fridge.
Here are the materials you’ll need:
- Bottle caps.
- Hot glue.
- Button magnets.
- Magazines, scrap papers, photos.
First, gather your pictures, scrap papers and magazine clippings. Cut them into circle shapes that will fit inside the bottle caps. Use hot glue to attach the paper cutouts to the inside of the bottle caps. Be sure to choose papers with a variety of colours and designs to make your bottle caps unique.
Next, hot glue the button magnet to the outside of the bottle cap. Remember, a small drop of hot glue is enough for these tiny items.
Voilà! your bottle cap magnet is ready to be placed in your fridge. Using different colours and designs will give your fridge and kitchen a cheerful and dynamic look.
The best? No special skills are required! Check out some ideas to get inspired and start creating your own bottle cap fridge magnets.
Body scrubs
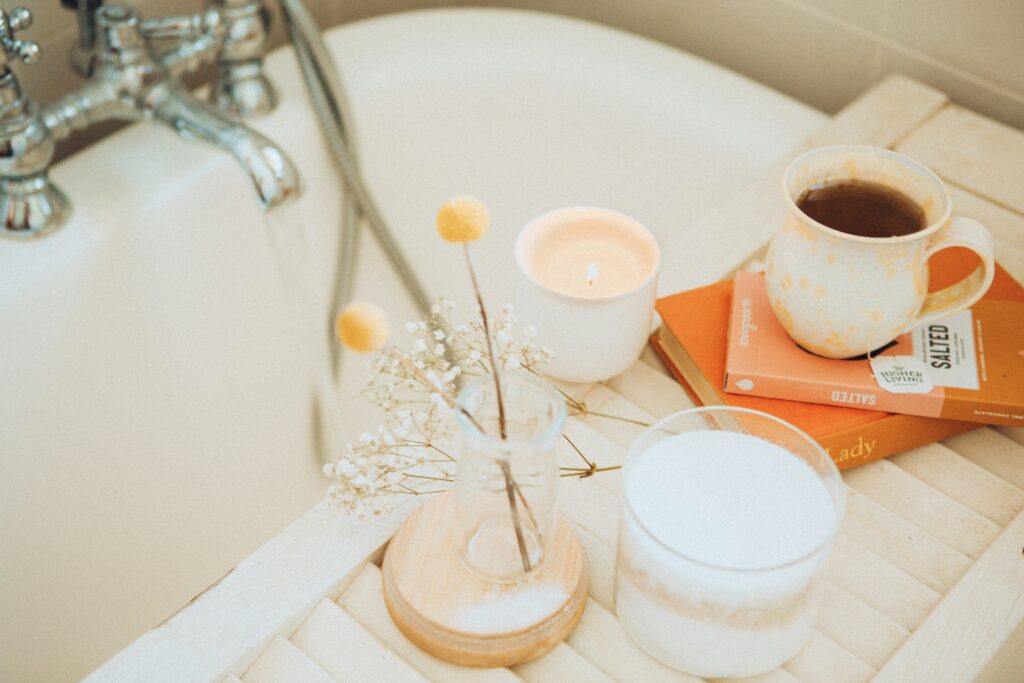
Exfoliation is a popular way to keep your skin looking vibrant and healthy, making it feel as smooth as a newborn’s. It allows your skin to absorb moisturizer better, unclog pores and even prevent ingrown hairs. In recent years, various body scrubs made from coffee, salt and sugar have emerged. But, you can create your very own homemade body scrub using ingredients you likely already have on your shelf.
Here’s what you’ll need:
- Spatula or spoon for mixing.
- Mixing bowl.
- Measuring cups.
- Container with lid.
- A carrier or base oil (such as coconut oil, almond oil or olive oil).
- 25 drops of your favourite essential oil (like lavender, spearmint or eucalyptus).
- Salt or sugar.
First things first, mix the oils with the chosen granules, either salt or sugar. You can also add honey or green tea to the mix for extra skin benefits. The key here is to get the right consistency for your scrub – not too runny and not too crumbly.
Once you achieve your desired consistency, transfer the mixture into a container with a lid.
To use your body scrub, massage it over the entire body in the bath or shower. Circular motions are what we’re aiming for here. Then, rinse well with warm water.
The final result is shining, healthy skin!
Plant pots
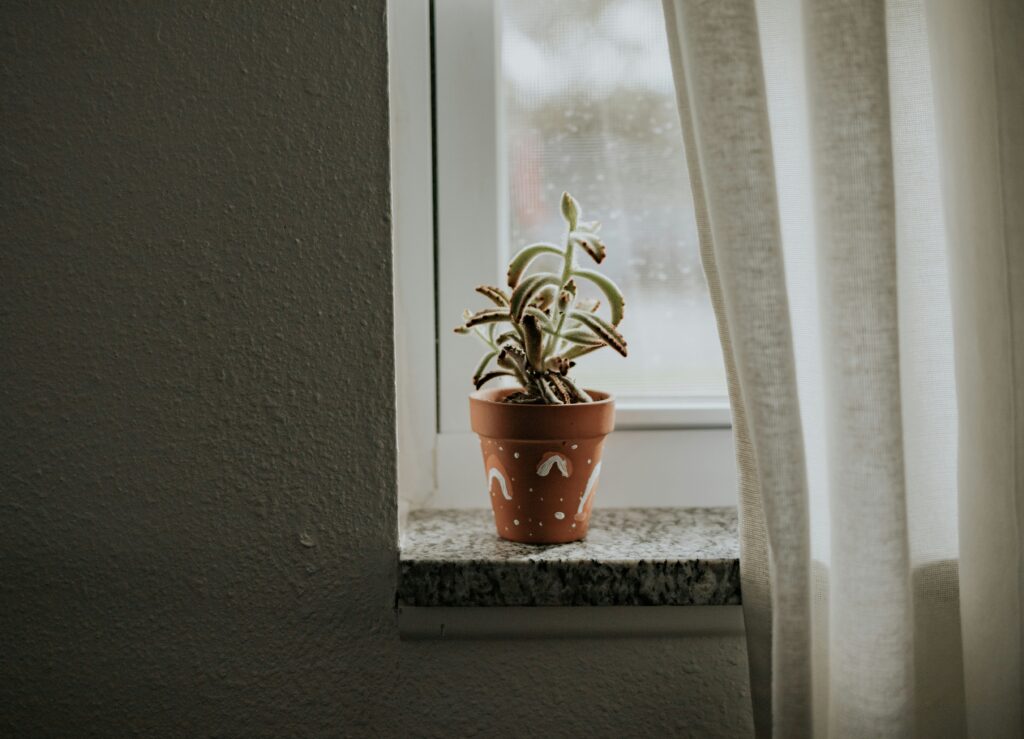
If you’re a plant parent, there’s a way to make your backyard or community garden even more colourful. With a bit of creativity, painting and clay, you can create your own plant pots.
Gather these items:
- Clay or terracotta plant pots (unglazed).
- Acrylic paints in assorted colours.
- Paintbrush.
- Water.
- Small plate for mixing palette.
Step one, clean your pots with water to remove any dirt and let them dry completely. Once they are fully dried, mix your paints with a little water to thin them out, which will ensure a more even coat on the pot. Use the small plate as a mixing palette if you want to blend colours.
Then, let your creativity flow with your paintbrush and decorate the pots. Here are some ideas to inspire you. Finally, when the paint is fully dried, start planting.
Some of the best small indoor plants include baby toes, echeveria and jade plant.
Homemade candles
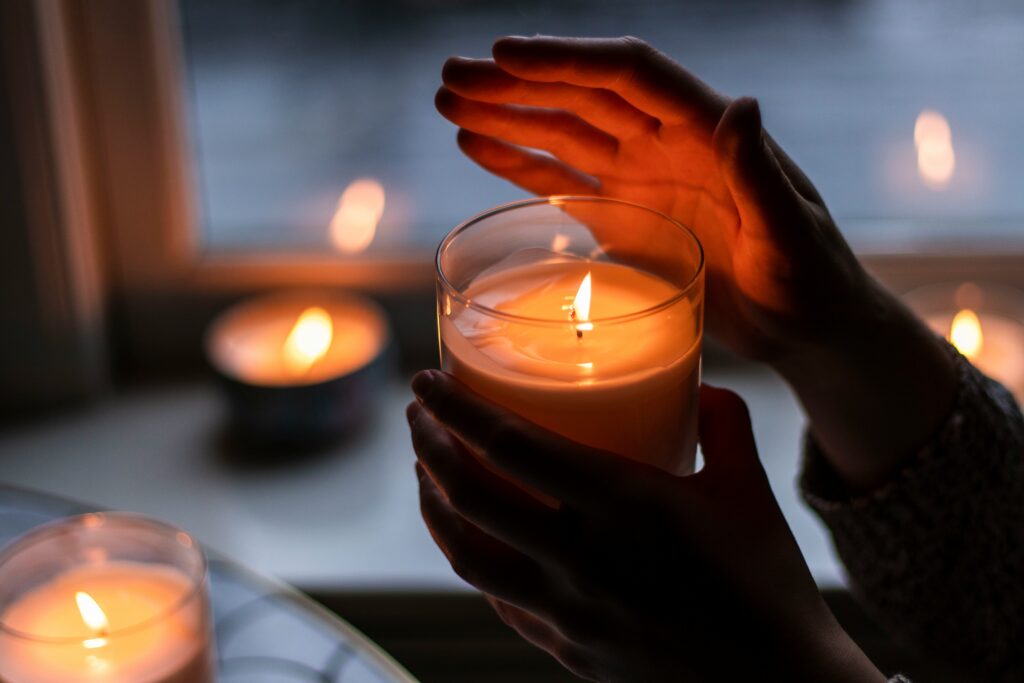
Candles, candles and more candles – give me them all! Who doesn’t love candles, right? Going to Bath & Body Works to explore their candles is always a blast, but trust me, making your own just hits differently.
With some essential oils and natural ingredients, you can make candles and transform your house into the ultimate spot for relaxation.
Get these materials:
- Soy wax flakes.
- Natural wicks.
- Essential oils.
- Mason jars or any other glass jars.
- Disposable stirring device.
- Chopstick or pencil.
First, melt the soy wax in a pot over low to medium heat. It should melt easily, but if it takes more than a few minutes, turn up the heat slightly. Stir using the chopstick and keep an eye on it to prevent burning.
Once the wax is melted, add 80 to 120 drops of your chosen essential oil directly into the pot. Next, anchor the wicks to the bottom of the mason jars using a bit of the wax. Tape the wick upright to a horizontal chopstick or pencil and pour the wax into the mason jar. Repeat until all jars are full.
Make sure the wick is taped to the chopstick or pencil and is upright. If it’s not straight, the candle will burn all groovy. Also, DON’T dispose of any leftover wax down the drain; put it in the garbage for proper disposal.
Enjoy your homemade candles and the cozy atmosphere they bring!
T-shirt tote bags
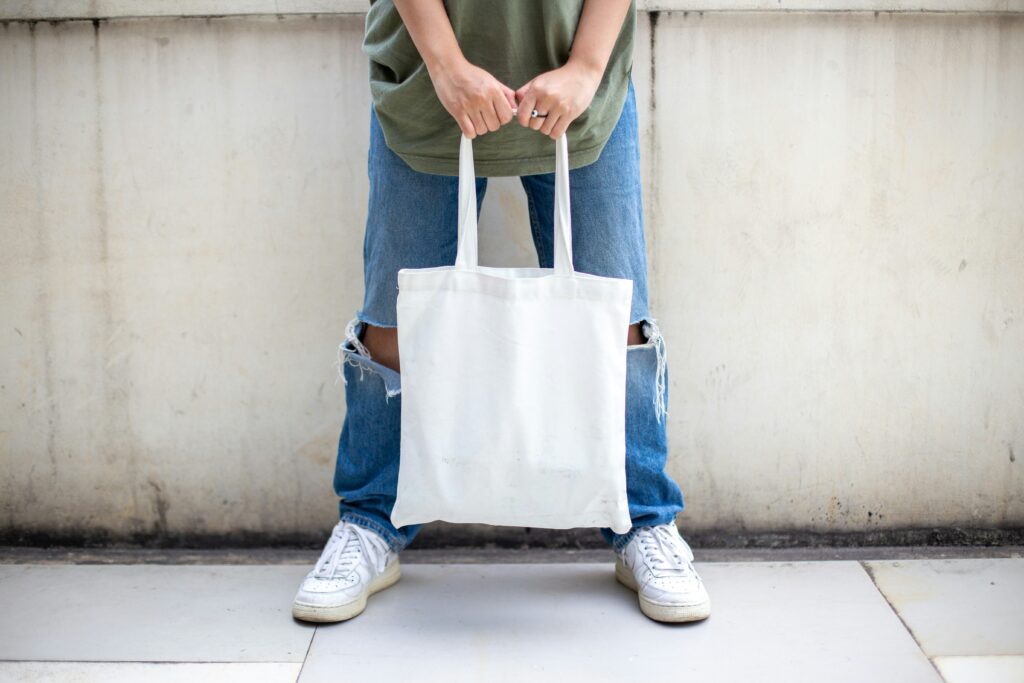
If you’re thinking I’m talking about sewing t-shirt tote bags, you’re wrong. This one is completely sew-free! With just three items, you can add a new tote bag to your wardrobe.
Here’s what you’ll need:
- Old t-shirt (the thicker the fabric, the sturdier the bag).
- Sharp scissors.
- Washable marker.
First, cut off both sleeves. Then, turn the shirt inside out and trace the outline of a bow around the neckline area – cut that off too. With the shirt still inside out, determine how deep you want the bag to be and draw a marking line.
Next, grab your scissors and cut slits from the bottom of the shirt up to the line marking the bottom of your bag. Cut both the front and back layers together, as they need to match up for the next step. Now, tie pairs of fringes into knots. If you lift the bag, you’ll see holes between each pair. To fix this, tie a pair of fringes that have been tied in knots with one strand from the left side and one from the right side. Keep tying back and forth until all the strands are secure.
Turn your t-shirt right side out and voilà, you’re done!
These DIY projects are easy and simple to create. So, get your hands on the tools and items listed above and start building your own do-it-yourself collection.
If you make any of these creations, share your final result with us @shareignite.
Feature image courtesy of Jasmin Schreiber via Unsplash.
Speaking of summer, have you started implementing sustainability into your life? Check out sustainability steps you should embrace!
Follow us on Facebook, Instagram and TikTok for all things student life.